Dead Space Technique: The Infector
I've had some requests for a breakdown of my process for my Dead Space concepts. This one is all about the Infector. Let me know if you find it helpful (or not)!

Here is a breakdown of the making of this bit of Dead Space concept art from the original game. This particular painting was done in 2006. I used this technique for pretty much all of the concepts I did for the game.

While there were many other explorations of shape for this creature, this page of sketches is about all I did before jumping into modeling it in Maya.
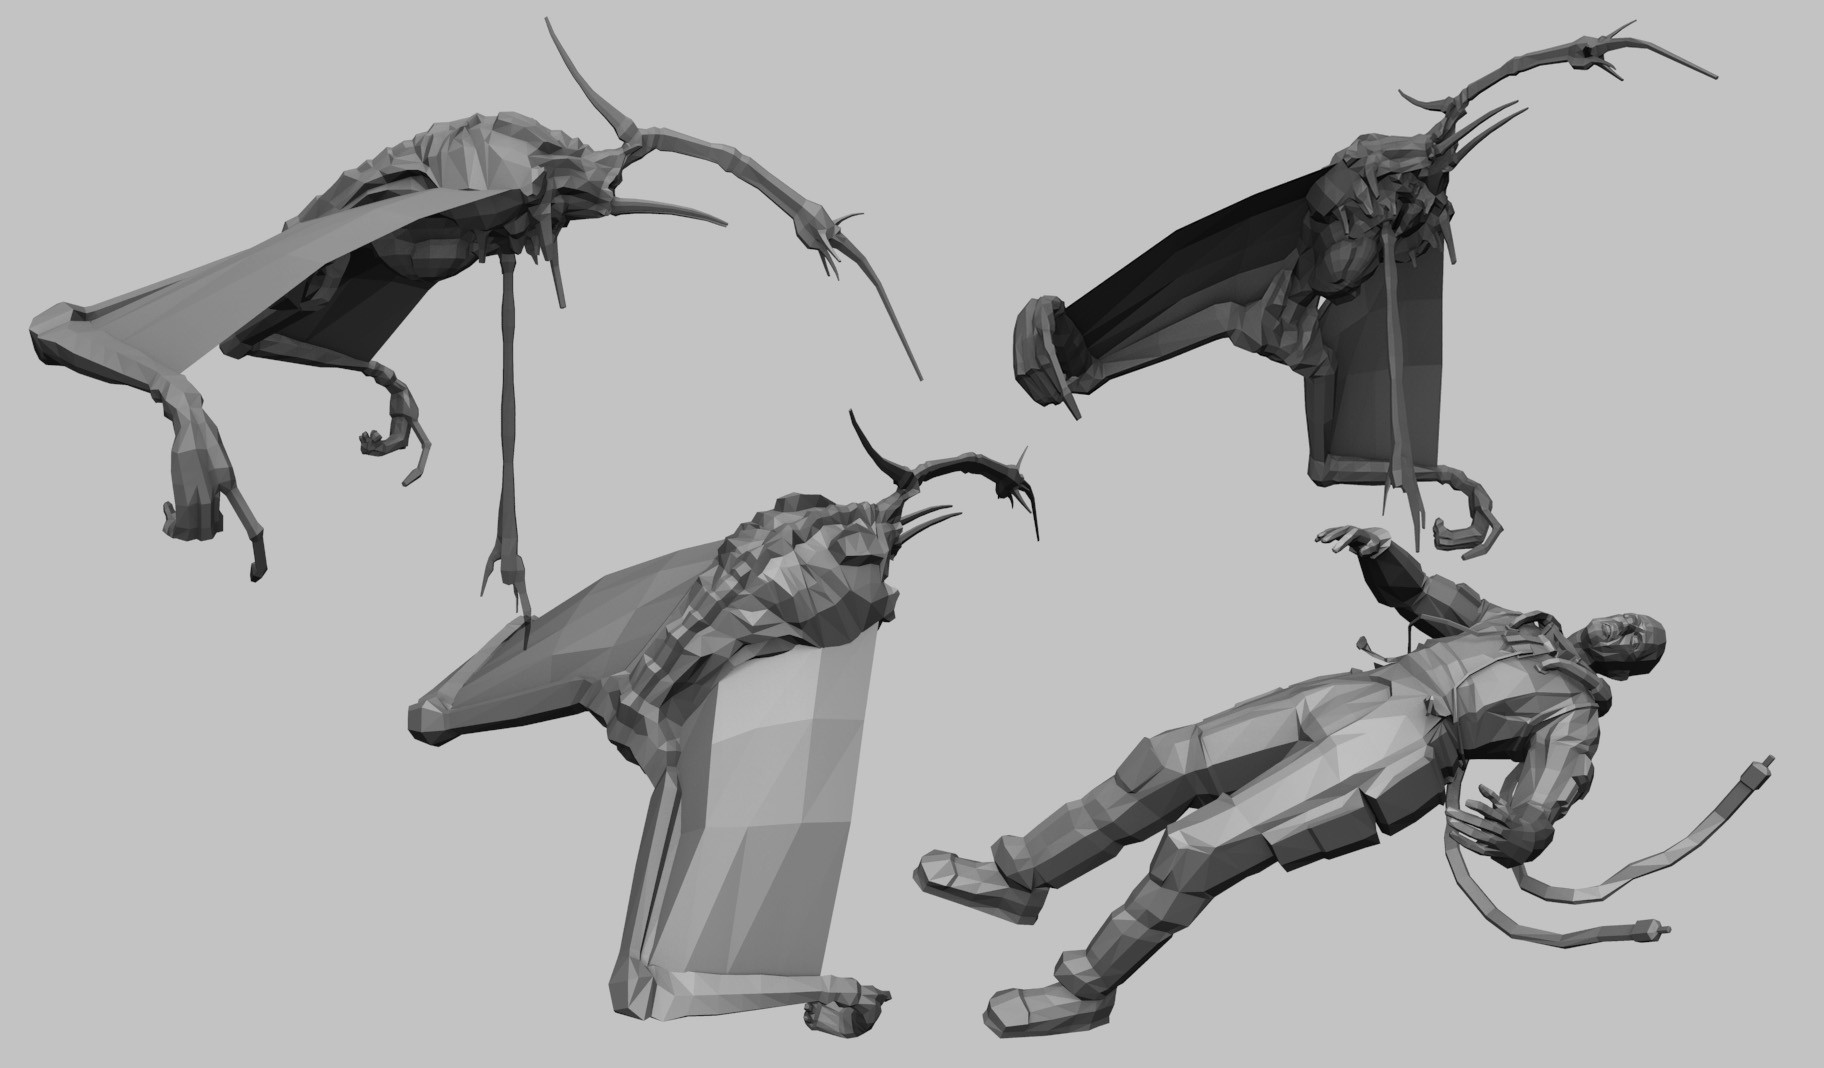
As I did with just about all of the Necromorphs destined for the shipping game, I build a model in Maya. I didn't have zBrush at the time and just used the time-honored technique of starting with a cube and splitting polys and moving verts.
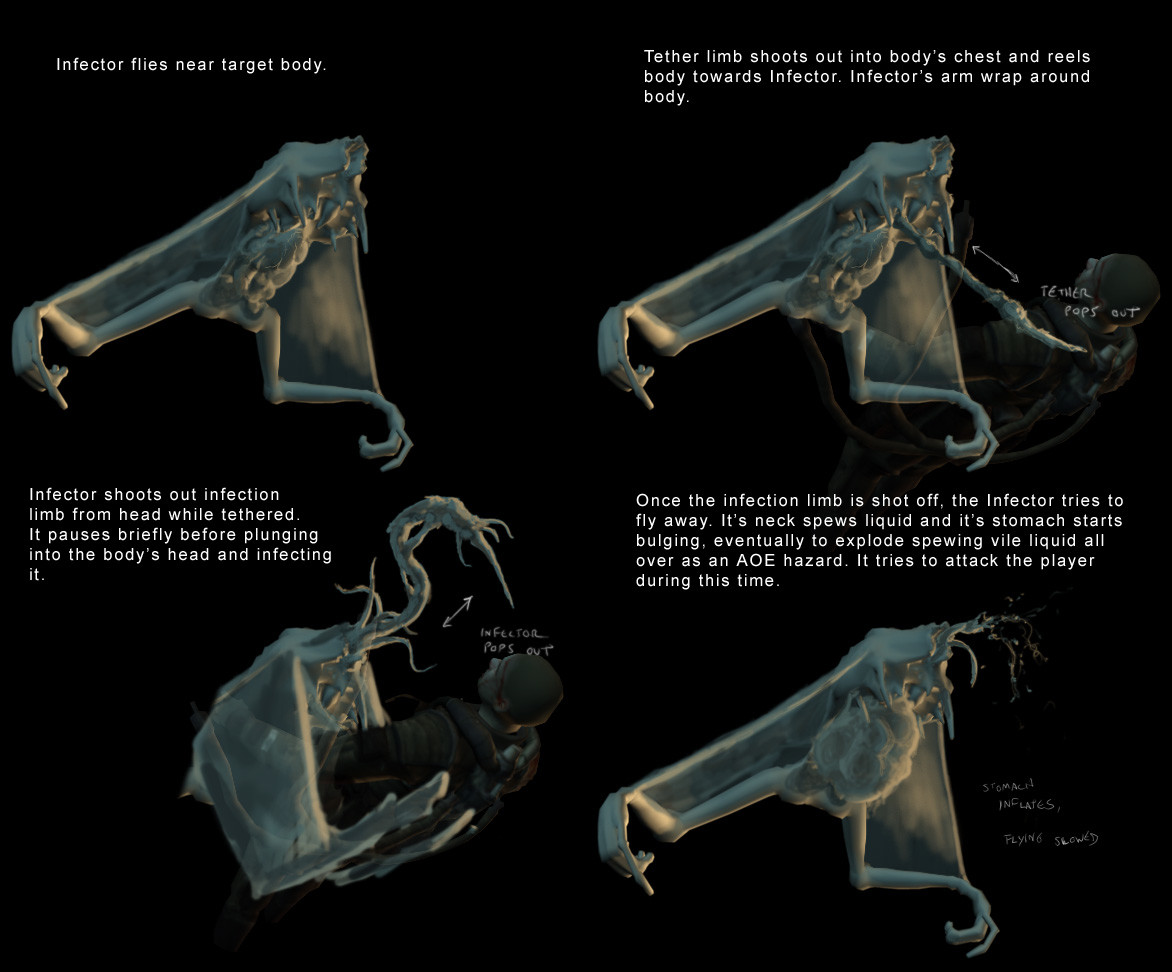
Once I finished the basic model, I did a quick panel on how this thing was supposed to work to communicate the idea to my teammates.

I gave the models primitive rigs and did a quick weighting pass so I could move them around. This posed scene is from a test animation I did of the infection sequence. This is the starting point for the painting.

I stripped the color out of the image and started detailing the surfaces in black and white. With the basic lighting information from the mesh, it makes it easier to stay consistent with where the lighting should go.

Basic color is added on a separate layer set to Overlay - a cooler blue for the spaceman, puke for the Infector, and of course lots of blood.

Overlay blending does a nice job of keeping highlights glistening when combined with the black and white.

Starting with some photo of a massive hangar, I painted over it to create a cavernous spaceship interior backdrop. I painted in white-hot lights behind to motivate lighting (and make it more scifi).
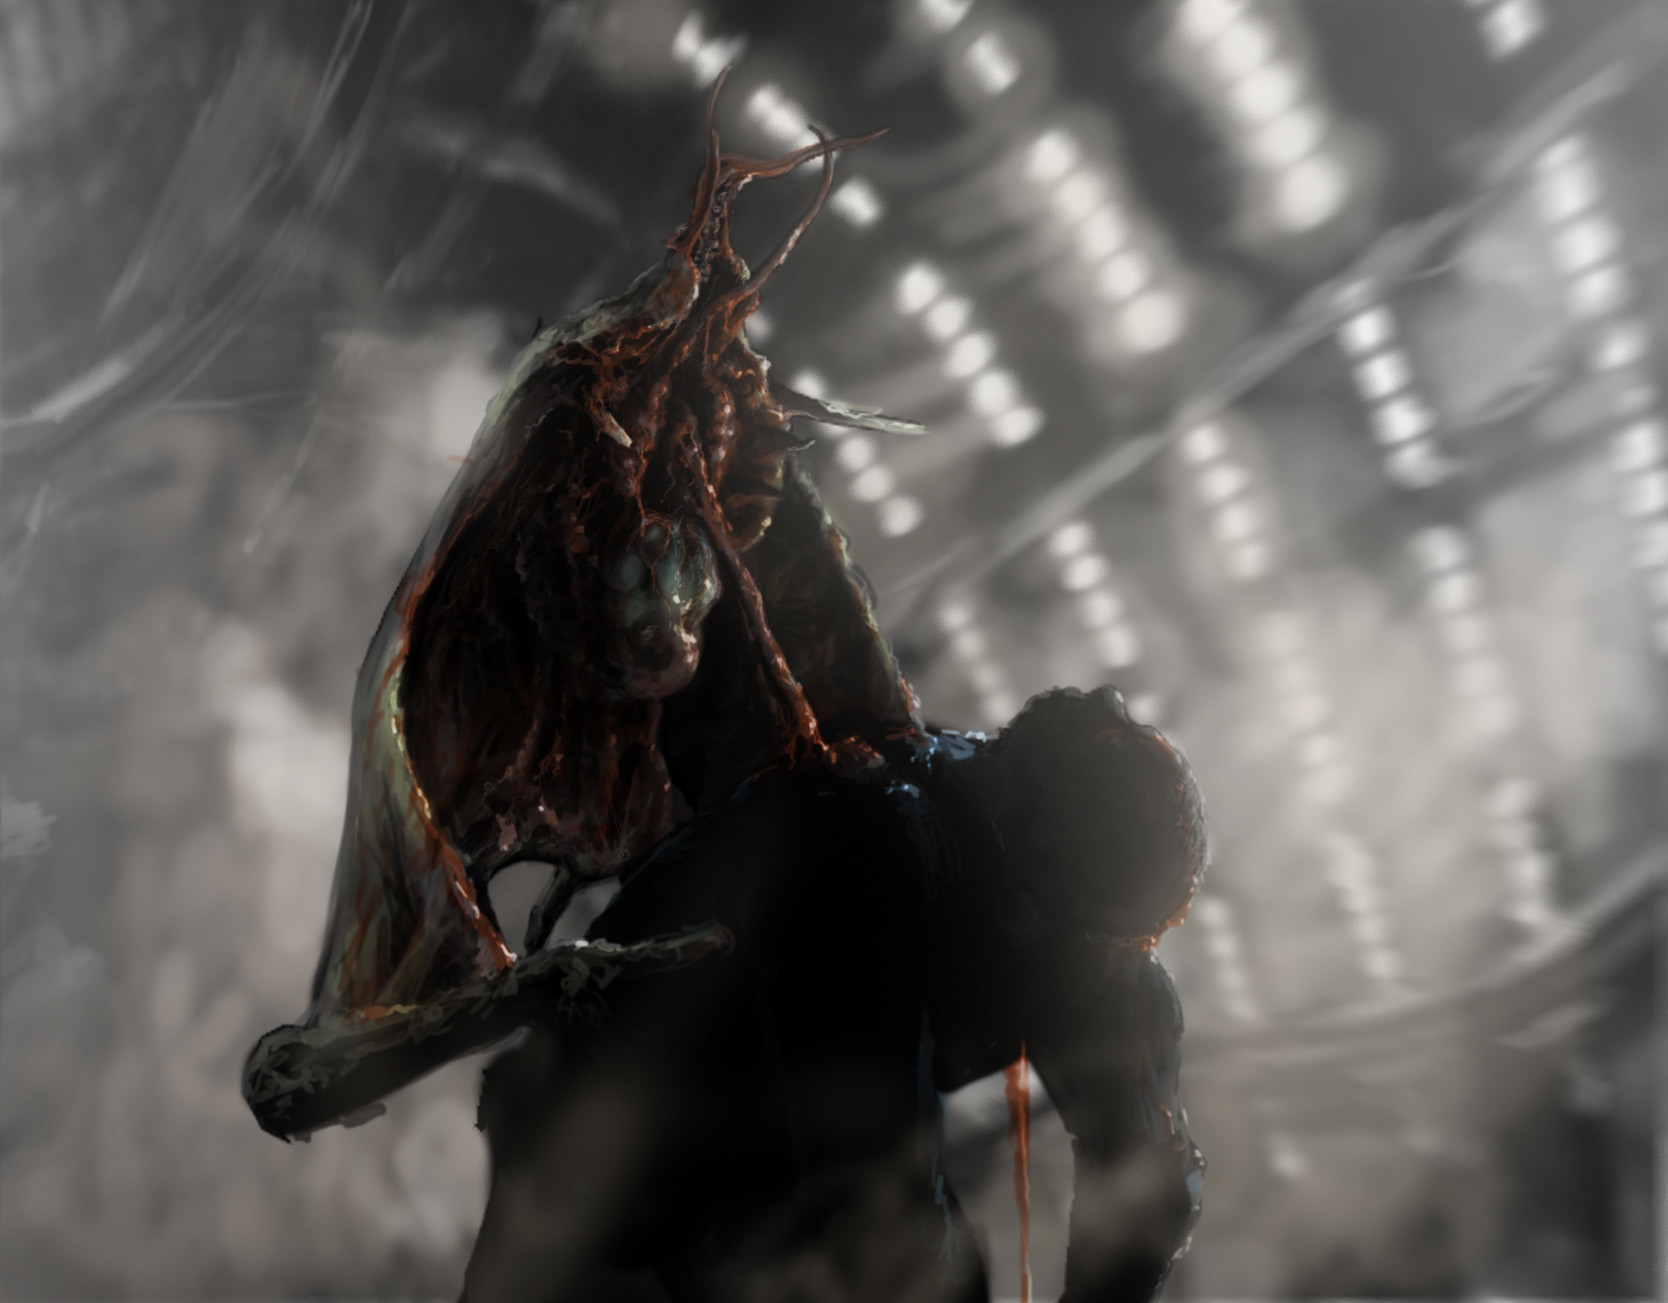
The world of Dead Space is heavily atmospheric so a fog pass is important for the mood. Mmm, steamy, gross spaceship.

Something I do with most of my images (for better or worse) is to lasso the point of focus with a nice feather. Then I radially blur using the Zoom method the rest of the image to make it look like it's in motion.

Here it's a little easier to see what the blur is doing. It usually takes a few passes of experimenting to get the focus point in the right spot and adjusting blur so it doesn't obliterate all the detail.

The final step is colorizing the frame. I use this shortcut a lot - cheater painting. By adjusting the highlights, midtones and shadows separately, you can push the image in a lot of different color directions quickly.

Here's the final image.